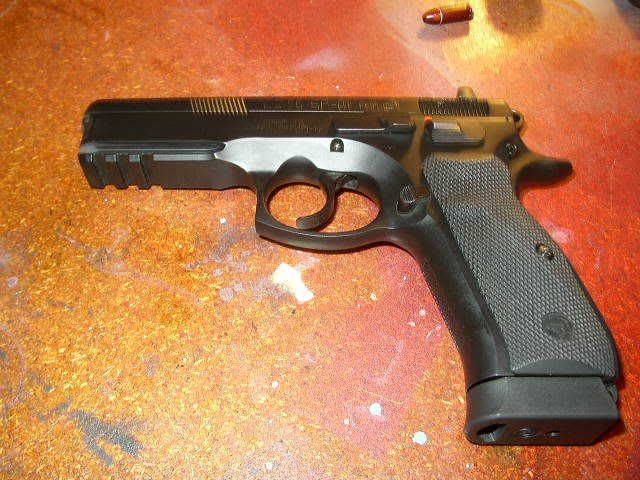
Lead
Exposure At the Shooting Range
Sources of lead during shooting include:
Sources of lead during shooting include:
The primer compound, which is made of about 50 percent lead-containing compounds
The effect of the hot propellant gases on the base of the lead bullet;
Friction of the bullet against the barrel wall;
Fragmentation of the bullet against the target and backstop.
After the bullet leaves the muzzle of a handgun, the lead-containing gases naturally stream forward, unless they are diverted by wind or ventilation-created air currents. In a handgun with a compensator, the lead-containing gases stream in the direction of the compensator vents as well as out the muzzle. In an automatic pistol, as the slide returns to eject the spent case, some lead-containing gases are directed back toward the shooter. Fragmentation of the bullet against the target and backstop results in significant lead dispersal.
TIPS TO PREVENT LEAD POISON:
·
Use
copper-covered bullets.
·
Do not shoot in a poorly ventilated indoor
range.
·
Do not clean up lead dust in an indoor range
without the use of a protective air filter.
·
Do not clean up the lead fragments against the
backstop without the use of a protective air filter.
·
Avoid shooting on days when the wind is
blowing toward you.
·
Consider limiting the time you shoot on a busy
range to minimize exposure to second hand lead.
·
Consider sending as few shooters as possible
to score or put up new targets in an indoor range since the air lead is highest
at the target. Share this risk.
·
Do not eat while shooting. After shooting, wash your hands thoroughly
before you eat.
·
Do not smoke while shooting. After shooting, wash your hands thoroughly
before you smoke.
·
Leave indoor ranges immediately after
shooting.
·
Change your shirt after shooting to avoid
exposure to the lead that accumulates on your clothes. Wash your clothes after a trip to the range.
·
Have your blood lead checked if you shoot on a
weekly basis, if you shoot or reload more than 500 rounds a month, or if you
develop any symptoms of lead poisoning.
·
Consider wearing a protective air filter if
your blood lead is elevated.
LEAD SOURCES:
Lead (chemical symbol:
Pb) Lead accumulates in the human body because it is one of the few ingredients
not eliminated via kidney, liver or other methods of waste removal functions,
thus causing damage to red blood cells. Tiny doses of lead, ingested through
respiration or digestion accumulate over a long period of time can get into the
blood.
Projectiles are made up of lead, copper, zinc and antimony. The common properties of a primer are: copper, zinc, lead antimony, barium, lead styphnate and tetazene. Unless the bullet is totally encased in a non-lead product (copper), elemental lead is shaved as it passes through the barrel and then dispersed into the air.
The greatest risk to shooters is the compound leads that are vaporized and formed by the burning powder. There are two sources of this dangerous gas. One is the burning powder sears the base of the lead projectile causing lead gases to be expelled with the powder residue. The next source is the vaporized lead and lead styphnate when the primer is discharged.
Well know is the fact that long term and/or short intense exposure to lead particles and dust can cause lead poisoning. The sport of shooting and reloading should be safe if you are keenly aware of toxic levels of lead.
Even the tiniest amount as small as 1/2 of 1/10 of one grain (.005), dissolved in your blood can produce adverse conditions.
SUGGESTED PREVENTIVE MEASURES:
- Blow your nose after shooting;
- Wash your hands for at least 30 seconds under running water and soap after any shooting or reloading activities;
- Wash hair before bed. Lead particles in the hair can transfer to the pillow and thus be ingested during sleep;
- Use lead free primers. (Copper plated is the best)
- Your physician should test you for lead levels as part of your regular check-up;
- Wear breathing masks for extended time on the range.
- Change your shooting clothes and footwear so as not to contaminate car, home or office;
Common sense is
the key. If lead is a toxin and part of your job involves being exposed to it,
then keeping the work space and your personal gear clean is critical to
avoiding the dangers.
SUGGESTED RANGE RULES AND PROCEDURES:
- Avoid exposure to lead by handling fired cases or shooting should wash their hands and face before eating, drinking or smoking;
- Place contaminated clothes in a plastic bag to transport home to your laundry facilities;
- Wash immediately and separately contaminated clothing.
- Use lead-free ammunition;
- Dry sweeping should never be practiced on the range floor;
- Anyone engaged in shooting activities on a extensive basis should wear breathing masks.
- Some companies specialize in lead reclamation even by "mining" lead from outdoor earth banks.
- Shooters should have a BLL (blood lead level) test every six months.
Lead poisoning is a serious problem for
frequent shooters of non- lead- free ammunition. Lead contamination of clothing that has been
exposed to lead can be a significant factor. Beware of contamination transfer to car,
house, and work environments.
BE
SAFE!